Some problems cause less stress than others. When your car has a flat tire, it’s a challenge to meet your deadline for work. Losing time in the evening to blow it up only adds to your stress.
The same goes for house repairs. While leaky roofs may not cause large inconveniences initially, homeowners are trained to expect long wrangles to correct the problem.
The good news is that leaks are often avoidable; most can be fixed cheaply and with available materials. In this blog, we’ll look at how to stop the bathroom sink leaking. Read on!
Replace the Washer and O-Ring
Start by turning off the water in the sink and find leak under bathroom sink. With the sink completely drained, remove the faucet from the sink. Once you have access to the inner workings of the faucet, check the washer and O-ring for signs of wear and tear.
If either of these components shows wear, they should be replaced with new ones. After replacing the washer and O-ring, reassemble the faucet and turn the water back on.
You should now have a non-leaking sink! With these steps, you can replace your washer and O-ring to save the day. Not only will you have a dripless sink again, but you’ll have saved time and money not having to call in a professional.
Apply Water-Resistant Epoxy Glue
To prevent water from leaking out of your sink any further and save the day, start by applying water-resistant epoxy glue to the crack or rift in the sink. Make sure to apply a steady amount of glue to ensure an even texture and a good seal. With something like a putty knife or a popsicle stick, spread the glue around the broken area.
Allow the epoxy glue to dry according to the instructions listed on the package, usually around two hours. After this time has passed and the epoxy glue has hardened, the leaking should be completely contained due to the water-resistant properties of the adhesive.
Tighten All of the Nuts and Bolts
The most common reason a bathroom sink might be leaking is an issue with the nuts and bolts. To stop the drip and save the day, begin by turning off the water at the main shutoff valve.
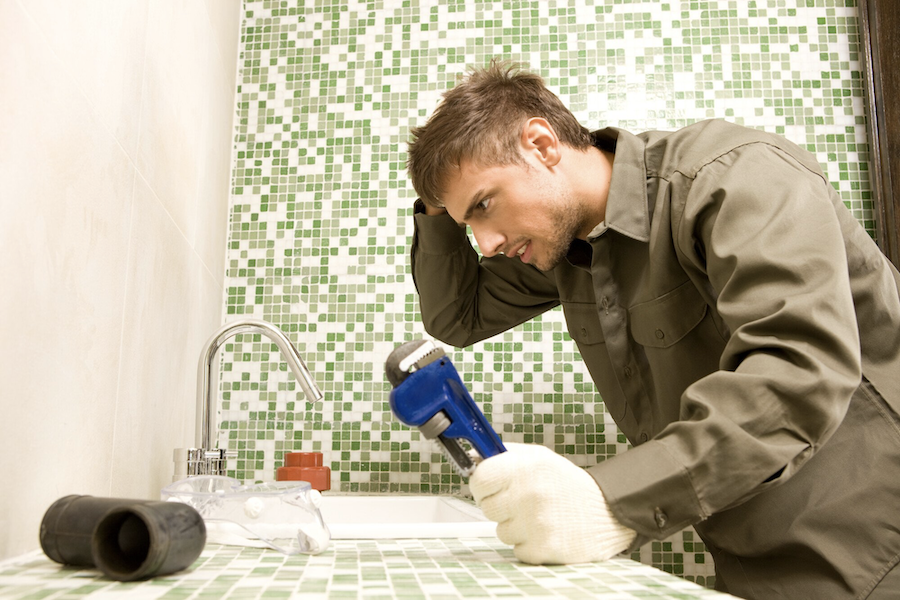
Then, if the bathroom sink is leaking underneath, inspect all of the nuts and bolts that attach the faucet and supply lines to the sink. If any of them are loose, tighten them using a wrench. For good measure, it’s a good idea to check all of the nuts and bolts in the sink area, including those that attach the drain to the sink.
Once all of the nuts and bolts are securely tightened, be sure to turn the water back on and check for any new leaky bathroom sink. If the issue is too complex, consider calling professional plumbers in Burleson, TX, as the best option.
Common Causes of Bathroom Sink Leaking
If you’ve reached the end of your rope with a pesky bathroom sink leaking, rest assured that this article will provide you with guidance to thoroughly assess, repair, and prevent any additional pesky leaks. So what are you waiting for? Get it fixed to save the day and your sanity!
Was this useful? For more home improvement tips, please check out the rest of our site.

