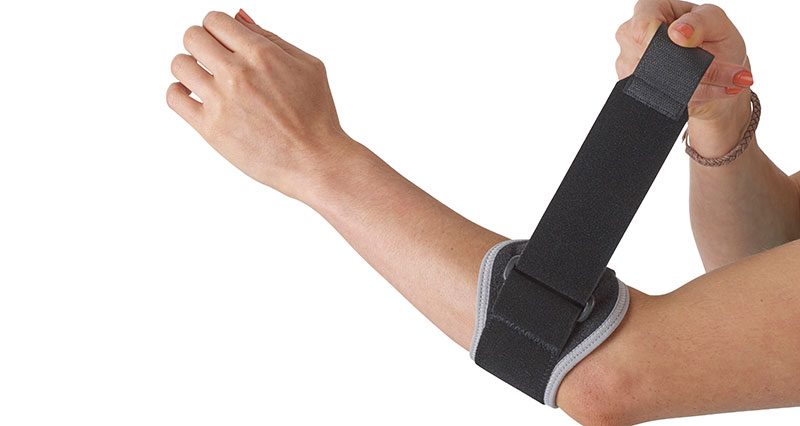
A Step By Step Guide To Applying An Elbow Brace
Tennis Elbow is the dreaded injury that tennis players fear the most.
It starts by manifesting as a sharp pain in the elbow and forearm, but if it goes untreated for too long it can become something a lot more serious.
One of the best ways you can treat a mild tennis elbow and prevent it from getting worse is to wear an elbow brace, also known as a tennis elbow strap.
Let’s look at how they work and then how to fit them correctly.
Why You Should Wear An Elbow Brace
You wear an elbow brace to apply counter-force and relieve elbow pain.
An elbow brace sits both above and below the elbow. It compresses the upper forearm and prevents you from being able to move your elbow too much.
The compression the brace puts on the upper forearm helps to absorb any force moving through the soft tissues in the arm. These forces can travel through the arm and aggravate the tender elbow.
An elbow brace will prevent this from happening.
Now, let’s take a look at how to correctly apply an elbow brace.
Applying An Elbow Brace
Placement is everything – if you do not put it in the right place you will not feel the full benefit.
Below you will find a step-by-step guide to correctly applying an elbow brace.
Step 1 – Prepare The Skin
Before you put an elbow brace on you want to make sure that your skin is clean that there is nothing attached to it that could hurt you once you have put the brace on.
Wash your skin with warm water and dry it gently.
If you want to apply a pain killer gel then now is the time to do so. It should have started to kick in by the time you have finished putting on the brace.
Step 2 – Prepare The Brace
If you are using a brace for the first time then you should put it through the washing machine once before wearing it.
If you are allergic to the cleaning products used by the manufacturer, this will prevent you from having an allergic reaction.
Once you have cleaned and dried the brace, you are going to want to find a flat surface to lay the brace on.
Now, you can check to make sure that there is nothing sharp trapped in the brace and that the stitching isn’t so rough as to irritate your already tender skin.
Step 3 – Position The Brace
The next step is to place your elbow into the brace. If putting your elbow down on a hard and flat surface is too painful, then you could move the brace over to a pillow or another soft surface.
Once your elbow is in the center of the brace, you will need to bring the strap for the upper arm around your arm and loosely attach it. You want to be tight enough that it does not fall off, but loose enough so that you can adjust the placement of the strap and main body of the brace.
Check that the body of the brace is in the right position – the brace will come with instructions from the manufacturer about the exact placement required – then loosely attach the forearm strap.
Step 4 – Strap On The Brace
Now that you have both the straps in place, you can make sure that the rest of the brace is sitting correctly and comfortably on your elbow.
Once you are happy with where it is sitting then you can pull the two straps tight.
Step 5 – Test The Brace And Adjust If Needed
Before getting on with the rest of your day, we recommend that you test the brace.
You can do this by moving your arm in a few ways.
If you work at a computer all day then you are going to want to make sure that your brace is not stopping you from being able to type.
If you have a job stacking shelves, then you will need to make sure that you can raise your hand above your head with ease.
You should also make sure that the brace is not cutting off any of the circulation to your forearm or fingertips.
If you find a problem, then loosen the straps and make any necessary adjustments. If everything is fine then you are ready to tackle the day.

